Disney Minnie Mouse Nail Tutorial
18:36
Being the ultimate Disney fanatic that I am, I decided to create a Minnie Mouse inspired Disney nail design. It's really simple and doesn't take two minutes, but I thought I would show you as the design turned out pretty well if I do say so myself!

 |
| I used Ruby by Champneys and Alpine Snow by O.P.I |
You only need two colours for the design. Personally, I think it looks better with a darker colour as the base and a lighter colour for the pattern, but it is completely up to you!
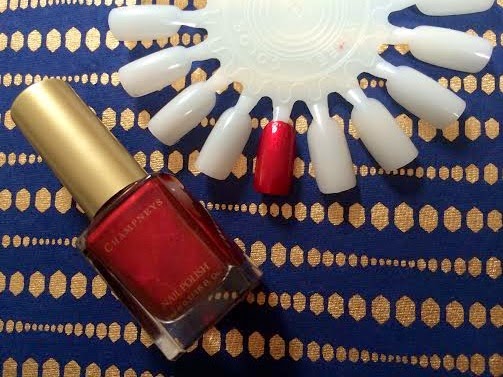
You want to start off by painting the entire nail with your base colour.

Once the base colour has dried, use your second colour to create dots on the nail. I used a dotting tool for this but you can also use a hairpin or a toothpick. The dots need to be quite big so that the design is visible.

Next, create two more dots at the top of the original dots. This creates the Minnie Mouse face design. Once the nail has dried you can use a top coat to finish it off!
And there you have it, simple as pie! I hope you enjoyed this Disney inspired nail design, please feel free to tell me what you think in the comments!
Where to find me -
For business inquiries:
painttherosesred123@gmail.com


0 comments